Repair notes
Restore with Restraint
Do the least that makes the most difference, and keep the story intact.
The case for doing less
A finish that has darkened over sixty years is part of a piece’s history. Strip it back to bare wood and you may gain a fresh look but lose colour depth, original patina and, for some labelled or designer pieces, a significant part of the value. Conservation practice in museums such as the Museum of the Home in Hoxton and the V&A favours minimal, reversible intervention, and that principle works just as well in a spare bedroom.
Our approach is a ladder. Start at the bottom rung with the gentlest step, check the result and only climb if you must. Most pieces look loved again long before the top.
The restoration ladder
Step 1 · Assess in good light
Photograph the piece from every side. Note the timber, any labels, loose parts, veneer damage and old repairs. Identify the finish if you can: a drop of methylated spirit on a hidden spot softens shellac, while lacquer and modern varnishes resist it. Knowing the finish prevents most mistakes.
Step 2 · Clean gently
Use a soft cloth wrung out in warm water with a drop of mild washing-up liquid, then dry immediately. For built-up grime and old wax, a cloth dampened with white spirit works on most sound finishes. Test somewhere hidden first. Often this step alone reveals the grain.
Step 3 · Stabilise the structure
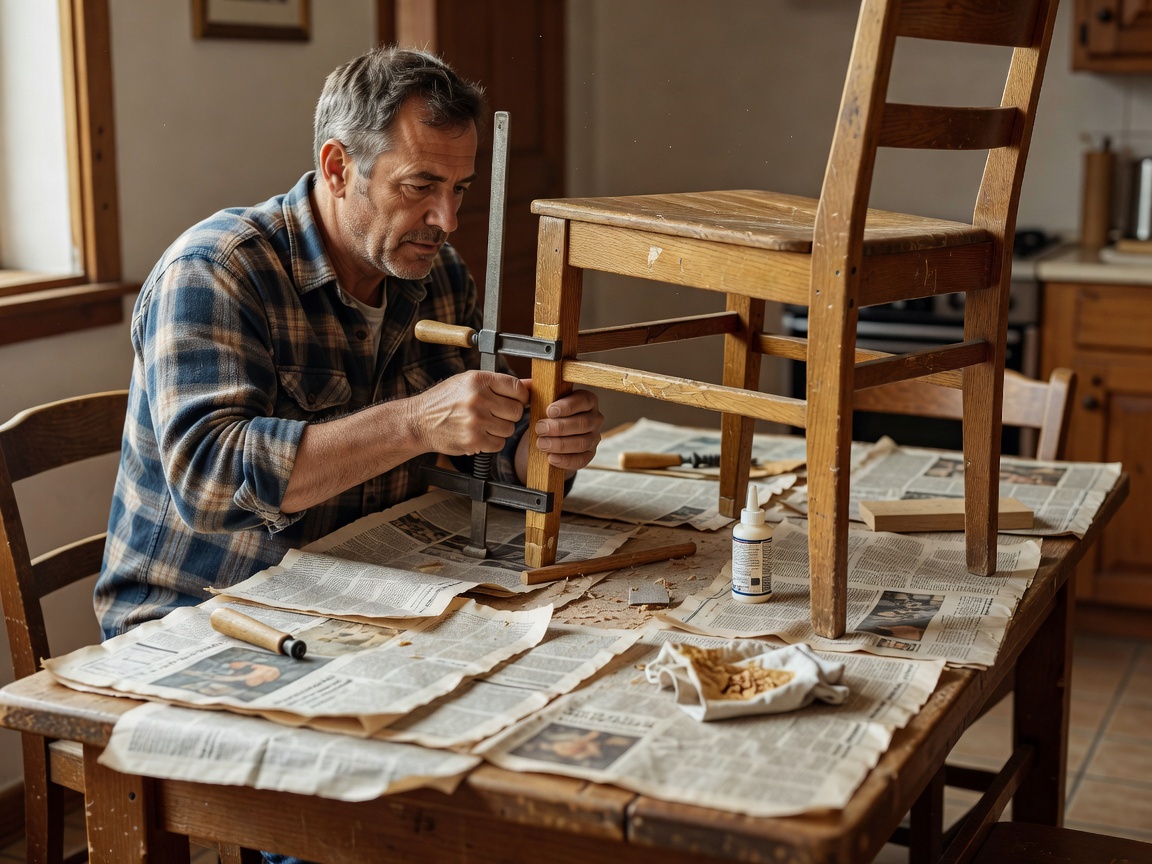
Loose chair joints are the most common fault. Ease the joint apart, clean out old glue, then reglue and clamp. Traditional hide glue is reversible and kind to future restorers; PVA wood glue is stronger but harder to undo. Never drive screws through a loose joint as a quick fix.
Step 4 · Treat marks and rings
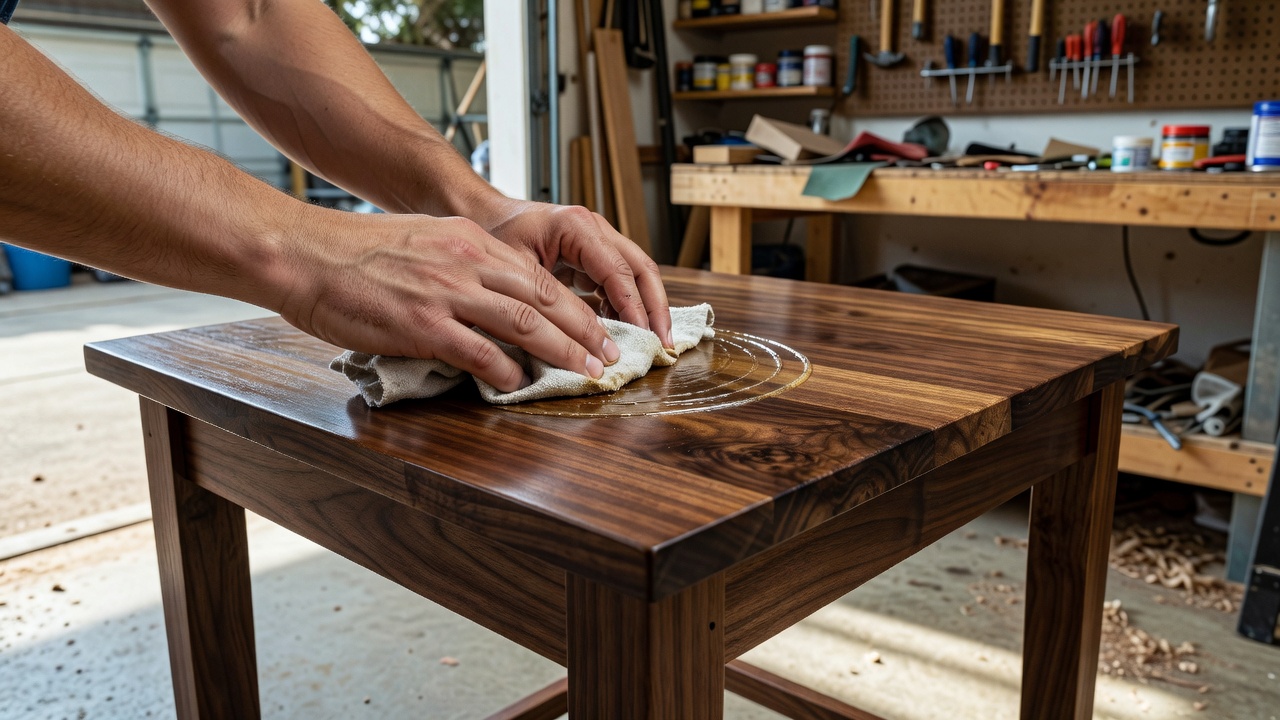
White rings are moisture trapped in the finish and may fade with gentle warmth from a hairdryer on a low setting, or with fine wire wool and wax. Dark rings have reached the wood and are harder to remove; they may be best accepted as part of the piece’s life.
Step 5 · Revive the surface
A thin coat of paste wax buffed to a soft sheen suits most finishes. Teak with an oiled finish can take Danish or teak oil, applied sparingly and wiped off. Avoid layering oil over wax or lacquer; it will stay sticky.
Step 6 · Refinish only if you must
If a finish is truly failing, consider a professional or a careful refresh with shellac rather than a full strip. Seek advice before refinishing anything with a maker’s label.
Upholstery and drop-in seats
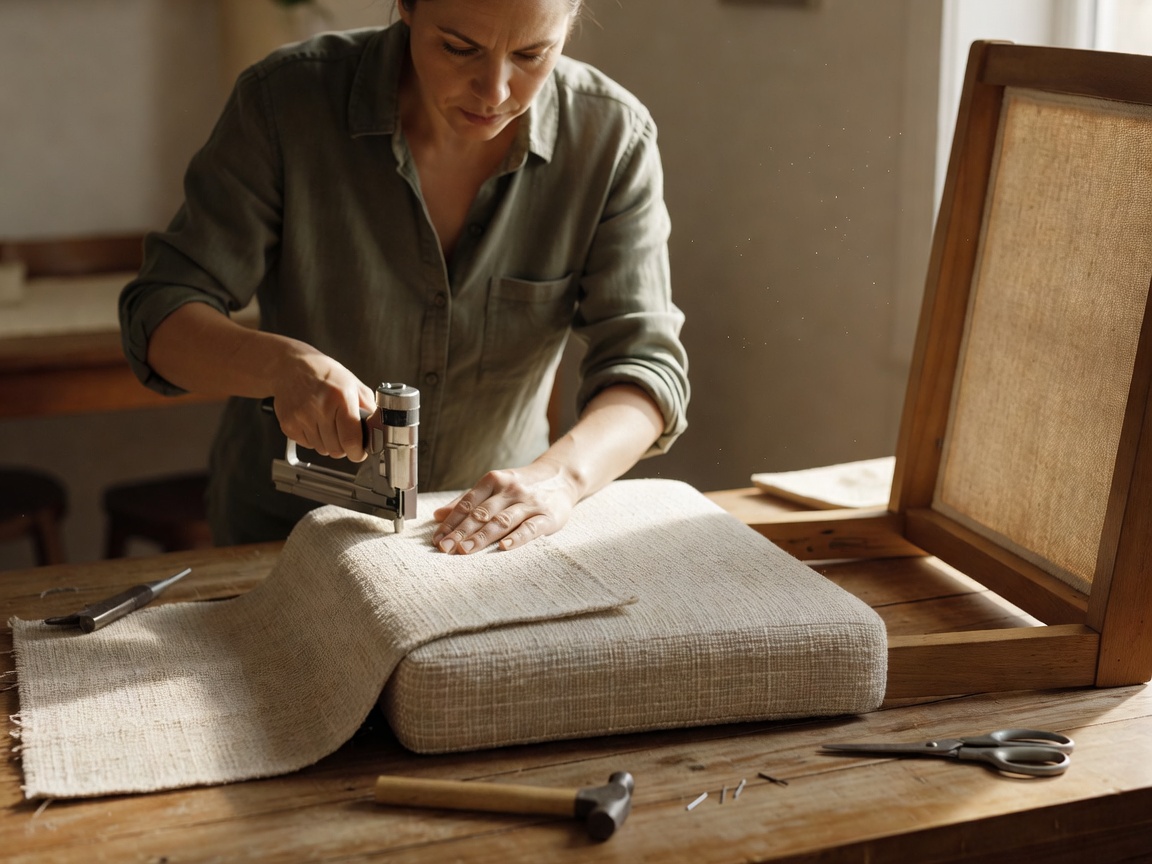
Many mid-century dining chairs have drop-in seats that lift out from below. Remove the old fabric carefully and keep it as a template. Check the webbing and foam: modern furniture foam should meet fire safety standards, and in the UK the Furniture and Furnishings (Fire) (Safety) Regulations 1988 apply to upholstered furniture sold to consumers. Stretch new fabric evenly, stapling from the centre of each side outward.
Sprung armchairs and sofas are a bigger job. Unless you have time and patience, a local upholsterer will save frustration.
Safety and when to call a professional
Old paint
Paint applied before the 1960s may contain lead. Avoid dry sanding or burning; use a test kit and seek guidance if in doubt.
Woodworm
Fresh, pale dust below small holes may mean an active infestation. Isolate the piece and treat it, or ask a specialist.
Ventilation
Solvents and oils release fumes. Work outdoors or with windows open, and follow product labels.
Oily rags
Rags soaked in oil can self-heat. Lay them flat to dry outdoors or keep them in water in a sealed metal container.
Call a professional restorer for valuable or labelled pieces, extensive veneer loss, broken structural parts or anything with sentimental value you could not bear to damage. Organisations such as the British Antique Furniture Restorers’ Association can help you find accredited specialists. For the bigger picture of how a repaired piece fits a room, see furniture worth keeping.